


These lashes are attracted by the iron oxide in the eyeliner. And the difference they make to your makeup is huge.
Now that we’ve had a quick refresher on how magnetic lashes work, we’ll show you how to apply them so they stay securely in place all day long. The whole process takes no more than 2 minutes and comes down to 4 steps:
- Trim the magnetic lash strip
- Draw a line with magnetic eyeliner
- Apply the lashes
- Secure your magnetic lashes with lash anchors
Let’s go through them one by one!
1. Trim the magnetic lash strip
To trim the strip properly, you first need to see how the lash sits on your eyelid. Try it on without eyeliner. The lash mustn’t irritate the corners of your eye, especially the outer one. A badly trimmed lash will poke you, and there’s a good chance the band will lift.
Sometimes trimming isn’t necessary, but you may find that you need to shorten the band by 1–2 magnets. Always trim from the outer corner. Otherwise, the length of the fibers at the inner corner may look out of proportion and cause irritation.
When trimming, make sure there’s a magnet at the outer corner, not an empty piece of band. That means you need to cut as close to the next magnet as possible. If you leave a loose piece of band, the lash may lift!
2. Draw a line with magnetic eyeliner
Now use magnetic eyeliner to draw a thin line. It has to be at least as wide as the magnets. The style of the line is entirely up to you 🙂 Remember to start fairly close to the inner corner of your eye, so that the first magnet makes contact with the eyeliner.
A line like the one in the picture below is all you need to apply your lashes with ease.
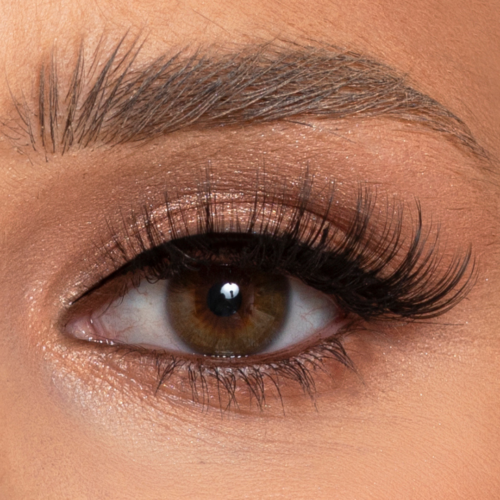
3. Apply your magnetic lashes
You can do this with your fingers or with a dedicated applicator. Your magnetic lashes are already trimmed, so all that’s left is to place them against the line.
To get the lashes as close to your natural lash line as possible, keep your eye open and look down. Place the lash strip on the middle of your eye, then make sure both corners are holding firmly to the eyeliner.
4. Secure your magnetic lashes with lash anchors
This step isn’t mandatory – it all depends on your eye shape. If you want to be sure your magnetic lashes won’t shift or lift, secure the ends with Extra Hold anchors for magnetic lashes.
Simply use the applicator to grab the fibers of one anchor, then press it on from underneath. That way, the strip lashes and the anchor connect and stay securely in place all day!
Magnetic lashes applied this way will stay put all day! I’m sure putting on your lashes will take you less time than reading this article 🙂 Remember, practice makes perfect – and the same rule applies to magnetic lashes!
How to remove magnetic lashes
To take off your magnetic lashes, grab the outer corner, making sure you’re not holding any of your natural lashes. Slowly peel the band off your eye. If there’s any eyeliner residue left on the band or magnets, remove it with a cotton swab and warm water.
Never use an oil-based makeup remover to clean your magnetic lashes.
To properly remove eyeliner from your eyelid, do a two-step makeup removal. Cotton pads and cotton swabs will help you get rid of any leftover eyeliner.
Magnetic lashes have been all over YouTube, TikTok and Instagram for a while now. First came double magnetic lashes, which you apply by placing two strips on your natural lashes – one from above and one from below. That idea didn’t quite work out.
Then came magnetic lashes that attach to magnetic eyeliner. Each lash strip has 3 to 10 magnets, depending on the brand. We prefer the ones with 10 magnets, as they give you more freedom when trimming and make the band itself more flexible, so they’re more comfortable to wear and apply.